Car Dealership Photography: The Complete Guide for Dealers Who Shoot Their Own Stock
October 28, 2026 · Dealer Guides
The complete routine for dealers who shoot their own stock: the marked lot bay, the fixed 25 to 40 frame shot list, the two good light windows, car preparation, and the sixty-second screen check.
Key takeaways
- A marked bay and printed shot list beat expensive cameras
- Shoot every car inside the two good light windows
- Preparation in the bay saves correction at the desk
- Run the sixty-second screen check before the car moves
Car dealership photography is a routine, not a talent: a marked bay on your own lot, one fixed shot list of 25 to 40 frames shot in the same order every time, camera settings locked, cars photographed inside the two good light windows of the day, and a sixty-second screen check before the car leaves the bay. No studio is required and no new camera is required. What is required is that the routine is written down and followed on the busiest Friday exactly as it is on a quiet Tuesday.
This guide is written for the dealers who shoot their own stock: principals who want one standard across the whole inventory, used car managers who carry the cost when photos delay a listing, and the photographers and valeters who actually stand in the bay. Most of our other guides cover the editing desk. This one covers your side of the fence, because editing can only finish what the camera started. Many dealers shoot in-house and outsource car photo editing to a desk like ours for the finishing work; many keep both halves under one roof. Either way, the camera sets the ceiling. A complete, consistent, honestly exposed set can be finished to a very high standard. A set with missing angles, mixed light and tight crops cannot, by anyone, at any price.
What car dealership photography actually is
Car dealership photography is the discipline of making every car on your lot look like it was photographed by the same careful person on the same good day. The product is not thirty beautiful photos. The product is consistency itself, because buyers do not judge your cars one listing at a time. They judge them as a page of search results, and the dealer whose cars all share one framing, one light and one background reads as one professional business. The dealer whose photos vary wildly from car to car reads as thirty separate accidents.
That framing matters because it changes what you invest in. You do not need a gifted photographer. You need an ordinary, trainable process that a normal staff member can repeat two hundred times without drifting: the same spot, the same camera height, the same order of shots, the same settings, the same checks. Talent varies by day and leaves when a staff member leaves. A routine stays. Everything in this guide is aimed at building that routine out of things you already own: a corner of your lot, the phone or camera already in someone's pocket or desk drawer, and an hour of setup that pays for itself on the first full week of shooting.
The photography bay: a marked corner of your own lot
Every good dealer photo set starts before the camera comes out, in the choice of where the car stands. Walk your lot and find a space with four properties. It needs room to walk a full circle around the longest car you sell with space to spare. It needs a background that is as plain as you can manage in the shooting direction: a wall, a fence, a hedge, or open space, with no signage from the business next door and no competing stock parked in frame. It needs to be reachable without moving three other cars, because a bay that takes ten minutes to access will quietly stop being used. And it needs light that is not cut in half by a building shadow for most of the working day.
Then mark it. Paint or tape a centre mark where the car sits, position marks around the ring if you shoot spins or full walk-arounds, and a line for where the photographer stands for the main angles. Marks feel excessive for exactly one day. After that, they are the reason a new starter produces the same framing as the person who has shot there for two years. Keep the bay swept, keep it empty, and defend it. The single most common cause of dealer photo drift is the photography corner slowly becoming overflow parking, until every set is shot wherever the car happened to be.
You do not need a backdrop, and a backdrop can wait forever if money is tight. A plain wall painted one calm colour is a luxury version of the same idea. What you cannot skip is the discipline that the car is always photographed in that one place, facing the same way, because consistency of setting is what lets a buyer compare your cars against each other instead of comparing your photography against itself.
The camera you already own is enough
The camera question is the one dealers ask first and the one that matters least. A current smartphone, used correctly, produces listing photos that marketplaces and buyers accept happily, and a mid-range dedicated camera does the same. What ruins more dealer photos than any sensor is automatic behaviour: the camera changing its mind between frames. So the settings routine matters more than the device. Lock exposure once you have framed the first shot, or work in whatever mode your device offers to hold it. Fix white balance to daylight or shade instead of auto, so the car does not change colour temperature as you walk around it. Turn the flash off and leave it off. Clean the lens every single time, because a pocket-carried phone lens carries a film of grease that turns contrast into haze, and no editing fully reverses it.
Height and distance discipline do the rest. Shoot at roughly waist to chest height for exterior angles, the height a buyer stands at, and hold that height for the whole set. Keep the car the same size in frame from angle to angle, with a margin of space on every side. Never crop tight to the bumpers in the camera. An editor can remove space around a car; nobody can invent the roofline you cut off. Shoot the highest resolution your device offers and do not send photos through messaging apps that compress them before they reach the editing desk. The file that leaves the camera is the raw material for everything that follows, and it should travel untouched.
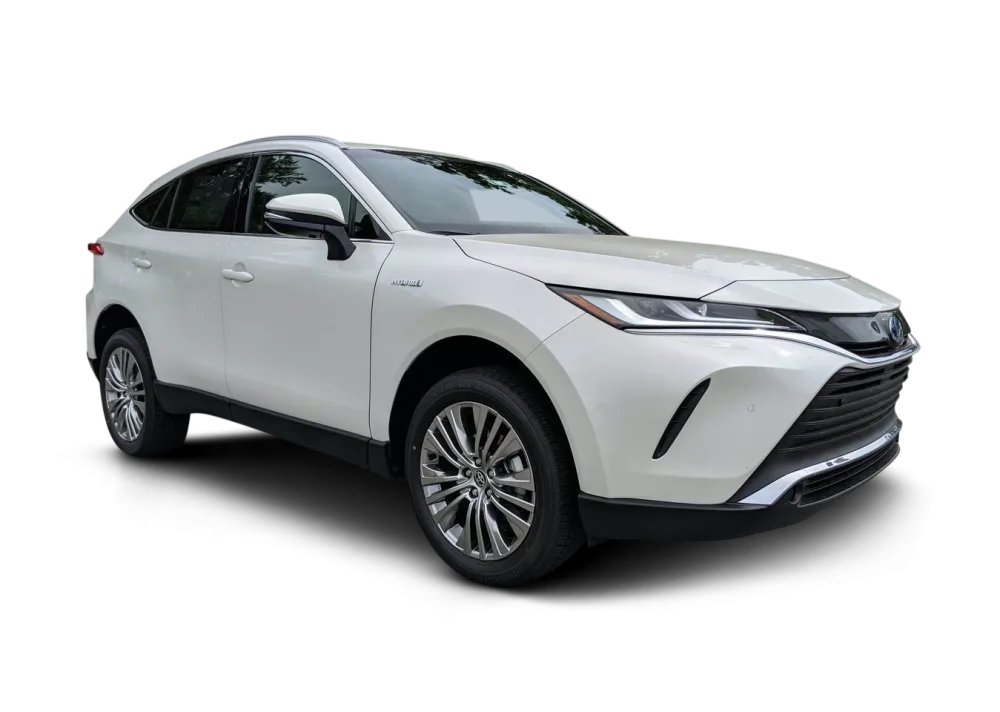
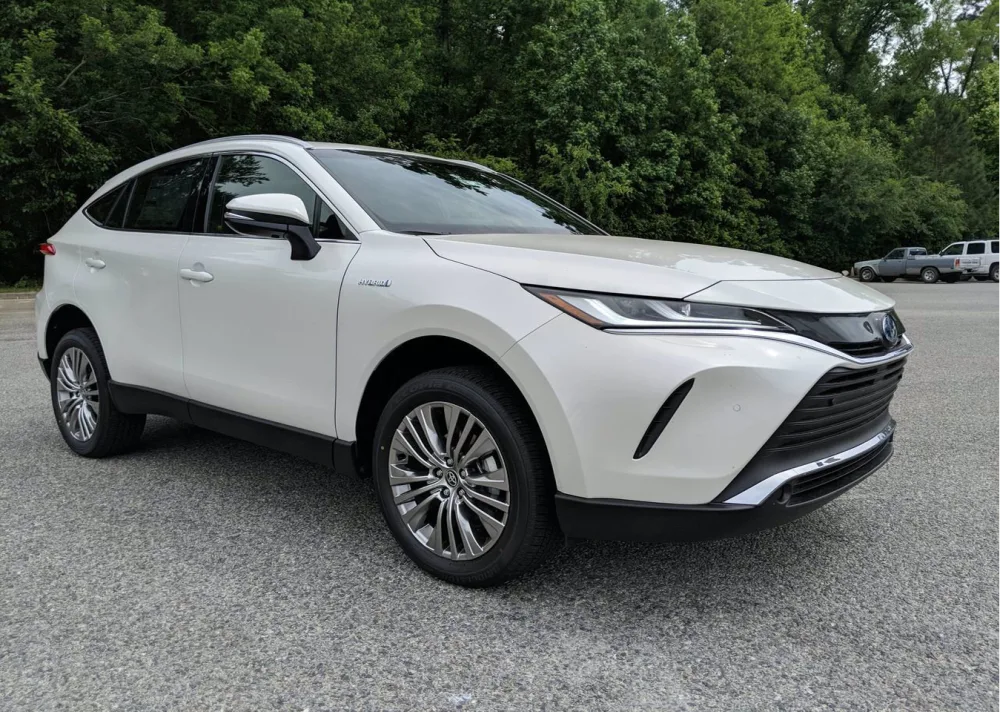
One background across the whole inventory: hover or drag to compare
 BEFORE
AFTER
Drag the slider or move your mouse over the image to compare.
The standard shot list: the backbone of car dealership photography
A fixed shot list is the heart of the whole system. Write it once, print it, and shoot it in the same order for every car, because the order is what makes the routine fast and the gallery coherent. Ours runs like this. Exterior circuit first, while the light that made you choose this hour is stable: front three-quarter, the hero shot, taken first while everything is fresh; then front, side profile, rear three-quarter, rear, and the opposite side profile, walking the same direction around the car every time. Then the wheels and details: one wheel close and honest, badges, lights, any feature the specification is proud of, and any wear the buyer deserves to see. Then the interior circuit: dashboard and cockpit from the open driver's door, front seats, rear seats, the boot or trunk empty and clean, and the engine bay if your market expects it. Documents last: service book, inspection or history pages, and the odometer reading, photographed legibly and never altered.
Twenty-five to forty frames is the working range for most listings, and the exact count matters less than the rule that nothing on the list is optional. The frames buyers study hardest after the hero are the unglamorous ones: the dashboard lit, the rear seats, the boot, the tyre and wheel close-up. A set missing those reads as a seller with something to hide, even when the truth is only that the photographer was in a hurry. The list also protects you commercially. When every car gets every angle, no listing goes live thin because a car arrived late on a Friday, and your inventory page keeps the uniform depth that makes a dealer look established.
Light through the day: the two good windows
More car dealership photography is ruined by the clock than by the camera. Midday sun in summer is the worst light you own: it blows out bonnets and roofs to white, drops black pits of shadow under the car, and throws hard reflections across every panel. The two good windows are the morning, after the light has strengthened but before it turns overhead, and the later afternoon, when the sun drops and rakes along the car's side instead of hammering its roof. Build your shooting schedule around those windows and the quality of your raw photos jumps before any editing exists.
Overcast days, which photographers in northern markets learn to love, are a gift rather than a problem. Cloud is a giant softbox: colour stays true, reflections calm down, and interiors and exteriors can be shot in the same session without the exposure fighting you. What overcast cannot survive is inconsistency inside one set, a bright first half shot before a break and a dull second half after it. Shoot each car in one continuous pass. If the light changes completely mid-set, the honest fix is to finish the set quickly in the new light or reshoot the exterior circuit, not to ask editing to reconcile two different days wearing the same registration plate.
Light through the seasons, and the wet days
The routine has to survive the calendar, not just the week. Winter brings a low sun that never climbs: light is golden and flattering for an hour either side of midday and nearly useless at the edges of the day, so winter shooting compresses into a shorter window and batching arrivals toward late morning becomes the practical move. Winter also brings salt and road film, which means the wash before photography stops being cosmetic and becomes the difference between a car that photographs clean and one that photographs neglected. Summer reverses the problem: long days, generous windows, and glare. Watch white and silver cars at noon in July; they are the first to blow out, and a half-step of exposure compensation locked in for pale cars is a habit worth writing on the routine card.
Rain days need a decision rather than a hope. A car photographed wet looks either freshly washed and gleaming or bedraggled and abandoned, depending entirely on whether the whole set is wet or only half of it. If you shoot in the rain, shoot the entire set in it, dry the badges and the glass you feature, and accept the mood. If a car is half-dried, move it under cover and wait, or shoot it tomorrow. The only unforgivable version is the mixed set, which tells the buyer the listing was assembled carelessly from different days.
Preparing the car before the camera comes out
Photography preparation is valeting with a checklist, and it is cheaper than any editing. Wash the car, including the wheels and the inside of the fuel flap. Vacuum the cabin, empty the door pockets and the boot, remove the previous owner's life completely: receipts, chargers, air fresheners, child seat bases. Set the seats at even, sensible angles, park the seat belts, straighten the front wheels for the profile shots and turn them slightly for the three-quarters, the same way every time. Fit the plates the car will be sold with, or apply your market's plate treatment consistently, and photograph the car in the state the buyer will find it.
Two minutes of preparation saves ten minutes of correction, and some of it saves the listing itself. A personal item left in frame cannot always be removed convincingly, and a car photographed mid-preparation, trade plates in one frame and retail plates in another, quietly tells buyers it was rushed to market. Rushed cars invite low offers. The preparation checklist belongs on the same printed card as the shot list, because the person shooting should never have to choose between remembering and doing.
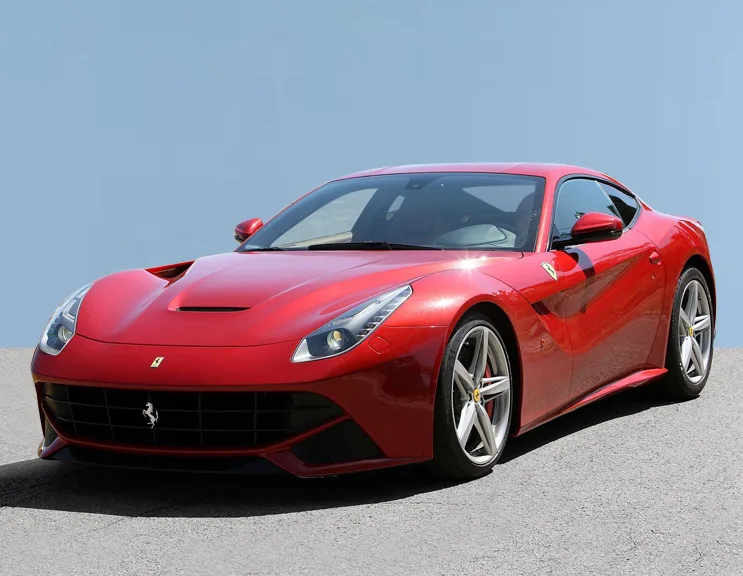
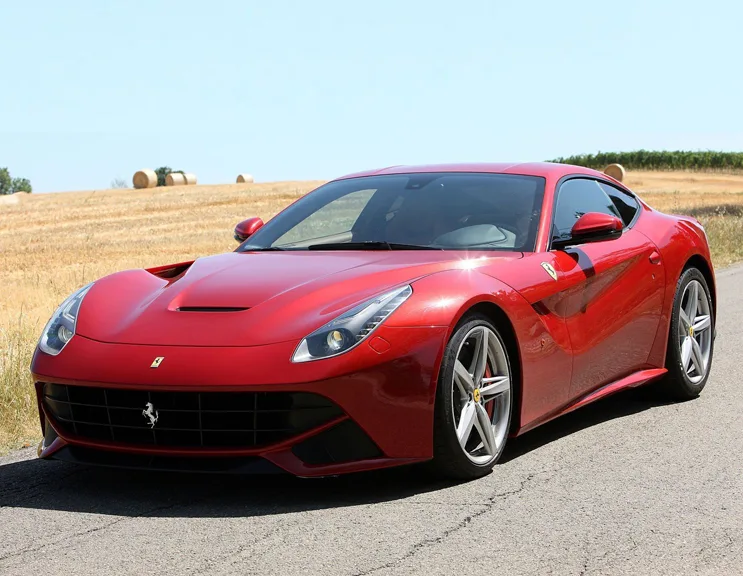
Full dealer edit, finished by hand: hover or drag to compare
 BEFORE
AFTER
Drag the slider or move your mouse over the image to compare.
Who should shoot: roles, training and the backup
Name one person as the owner of the standard. Not necessarily the only photographer, but the person whose job includes the bay staying clear, the routine card staying current, and new starters being trained against it. Train at least two people to shoot, because a one-person system collapses the first time that person takes a holiday during a busy intake week. Training is short when the routine is written: walk the bay, shoot one car together against the list, compare the set frame by frame with a good reference set, and correct the differences in height, distance and order. Most people are producing standard sets within a handful of cars.
Resist rotating the job around everyone on the rota. Six occasional photographers produce six styles, and your inventory page shows all of them. Two trained people produce one style, which is the entire point. What the standard owner reviews, weekly, is not artistry. It is drift: heights creeping, margins shrinking, the document shots quietly disappearing on busy days. Drift is normal and correctable, but only if someone is looking for it.
The routine that survives a busy week
A photography standard dies in the busy week, not the quiet one, so design the routine for your worst Friday. Batch the shooting: cars are photographed in the good light windows in arrival order, prepared in a small queue ahead of the bay so the camera never waits on a wash. Keep the camera, the routine card and the screen-check habit in one place. Shoot every car the day it is ready rather than saving a mountain for one heroic session, because a daily flow keeps sets consistent and listings moving.
Peak weeks are also where the split workflow proves itself. Shooting has to stay on your lot, because the cars are there. Finishing does not. When intake spikes, the editing queue can go out as bulk car photo editing to a desk that does nothing else, instead of piling up on the same two people who are also trying to shoot. The mistake is letting the photography standard slip to protect an in-house editing queue, or the reverse. The routine protects the capture first, because capture is the part that cannot be redone once a car is sold, delivered or buried three rows deep in the compound.
Quality control at capture: the sixty-second screen check
The cheapest quality control in the entire business happens in the bay, in the minute after the last frame, while the car is still standing in front of you. Zoom into the hero shot and one detail shot on the largest screen available and check four things. Sharpness at full size, especially badges and plate text. Exposure: no blown white panels, no black hole interiors. Completeness: run the shot list down and confirm every frame exists, including the boring documents. Consistency: flick through the set and confirm it looks like one shoot, one light, one car. Anything that fails gets reshot now, while reshooting costs a walk of ten steps.
Build the rule into the culture: a reshoot in the bay is free, a gap discovered at the editing desk costs a day, and a gap discovered by a buyer costs trust. This is also where the honest boundary of capture sits. Dust on the panels that valeting missed, a reflection of the photographer in the paint, a scuff in a footwell: those are editing matters, and a car retouching service handles them as routine. A missing rear three-quarter, a blurred dashboard, a boot nobody photographed: those are not editing matters, and no desk can invent the frame you did not take. The screen check is where you make sure the second list never leaves the lot.
Where shooting ends and the editing desk begins
Draw the line clearly and both halves of the workflow get better. Capture owns everything that is true about the car and the moment: the complete angle set, honest exposure, true colour, a clean car, consistent framing with working margin around the vehicle. The editing desk owns everything that is true about the presentation: one background, one light, one standard of finish across the whole set and the whole inventory. When you send a set to a car photo editing service for dealers, what the desk receives decides what it can return, and the dependency runs in one direction only.
Some examples make the boundary concrete. A full car dealer photo editing pass assumes the set is complete, the frames are sharp and the colour is honest; given that, the desk can lift a good set to a front-line standard. Clean car background replacement depends on your bay habits: margin around the car on every side, the full vehicle inside the frame at every angle, and one shooting direction, because a cutout cannot rebuild a bumper that was cropped off at capture. When the background changes, the ground shadow from your lot goes with it, and a car shadow service rebuilds a contact shadow that agrees with the new scene and grounds the car instead of floating it. Each marketplace then wants its own dimensions, ratios and file weights, so the set is finished with car image resizing to each destination's specification rather than letting each platform crush the files in its own way.
What the desk cannot do is equally concrete, and a practical guide should say it plainly. Editing cannot sharpen a blurred photo back into detail that was never recorded. It cannot rotate a car to an angle nobody shot, open a boot nobody opened, or make a midnight-blue car photographed under orange floodlights provably its true colour without a reference. And it must not do the rest: change the car's colour, trim or specification, or hide the wear a buyer will find on the forecourt. The desk edits the scene freely and the car almost not at all. Your job in the bay is to make sure that line is easy to hold, by giving the desk complete, consistent, honest raw material.
The mistakes that make dealer photos look amateur
Most weak dealer photography is a short list of habits repeated at scale. Shooting each car wherever it sits, so the background, the light and the angle change with the parking space. Mixing days inside one set, three frames from Tuesday and four from a rainy Thursday, and hoping nobody notices the car change colour. Photographing at whatever height feels natural, so tall cars loom and small cars squat. Cropping tight in the camera to make the car look bigger, and amputating mirrors and bumpers in the process. Leaving the lens dirty for a month of shoots. Photographing the hero shot and skipping the interior circuit when the day gets busy, which is exactly when the standard matters most. Every one of these is a process failure, not a talent failure, and every one is fixed by the same three things: the marked bay, the printed list, the screen check.
How Cars Photo Editor fits a shoot-it-yourself workflow
We are the editing desk half of this guide, and we are built for dealers who keep the camera work in-house. Cars Photo Editor is a hand-editing service: no AI tool edits your photos here. An editor cuts the car out, builds its shadow, matches colour and light, and checks the finished set against your originals before delivery. We have worked this way since 2016 for dealers and automotive photographers across the USA, the UK and Europe, with standard turnaround within 24 hours for typical batches and volume discounts of 5 percent at 100 images and 10 percent at 500.
If your shooting routine is in place, the test of an editing desk is simple and costs nothing. Use free trial car photo editing and send 5 to 10 photos from a real car on your lot, shot your way, including a hard one: a dark car, a white car at midday, a cluttered trade-in set. Judge what comes back against the vehicle standing in front of you. If the finished set looks like your car on its best day, honestly shown, the workflow works. Then the two halves of this guide, your camera and our desk, become one standard your whole inventory can follow.
Shoot it yourself, finish it like a studio, free
Send us 5 to 10 of your own listing photos (files or a Drive or Dropbox link) and we will edit them free, by hand, so you can judge the quality on your own inventory before you spend anything.
Start Your Free TrialDealership photography: common questions
How many photos should a dealership take of each car?
A working set is 25 to 40 frames: the full exterior circuit, wheels and details, the interior circuit, and the documents including the service history and odometer. The exact count matters less than completeness: every car gets every angle on the list, so no listing goes live thin.
Do I need a studio or an expensive camera for car dealership photography?
No. A marked corner of your own lot, a current smartphone or mid-range camera with exposure and white balance locked, and a written shot list will produce listing photos buyers and marketplaces accept. Consistency of place, height and settings matters far more than the device.
How do I choose a car photo editing company to finish photos we shoot ourselves?
Choose a car photo editing company the way you would judge any supplier: on your own hardest work, not on a portfolio. Send a trial set with your difficult cars, check the cutout edges, the rebuilt shadow and the colour against the real vehicles, and confirm the desk checks finished photos against your originals before delivery.
Can we get car photo editing with 24 hour turnaround for photos shot in-house?
Yes. Car photo editing with 24 hour turnaround is the standard for typical dealer batches at Cars Photo Editor: you upload the set as files or a Drive or Dropbox link, and the finished set comes back edited by hand, checked against your originals, within that window for normal volumes.